Quality Control in Manufacturing: Checklists That Work
Quality control in manufacturing, made practical: inspect at the right stages, turn specs into checks, record results and act on failures. With an example.
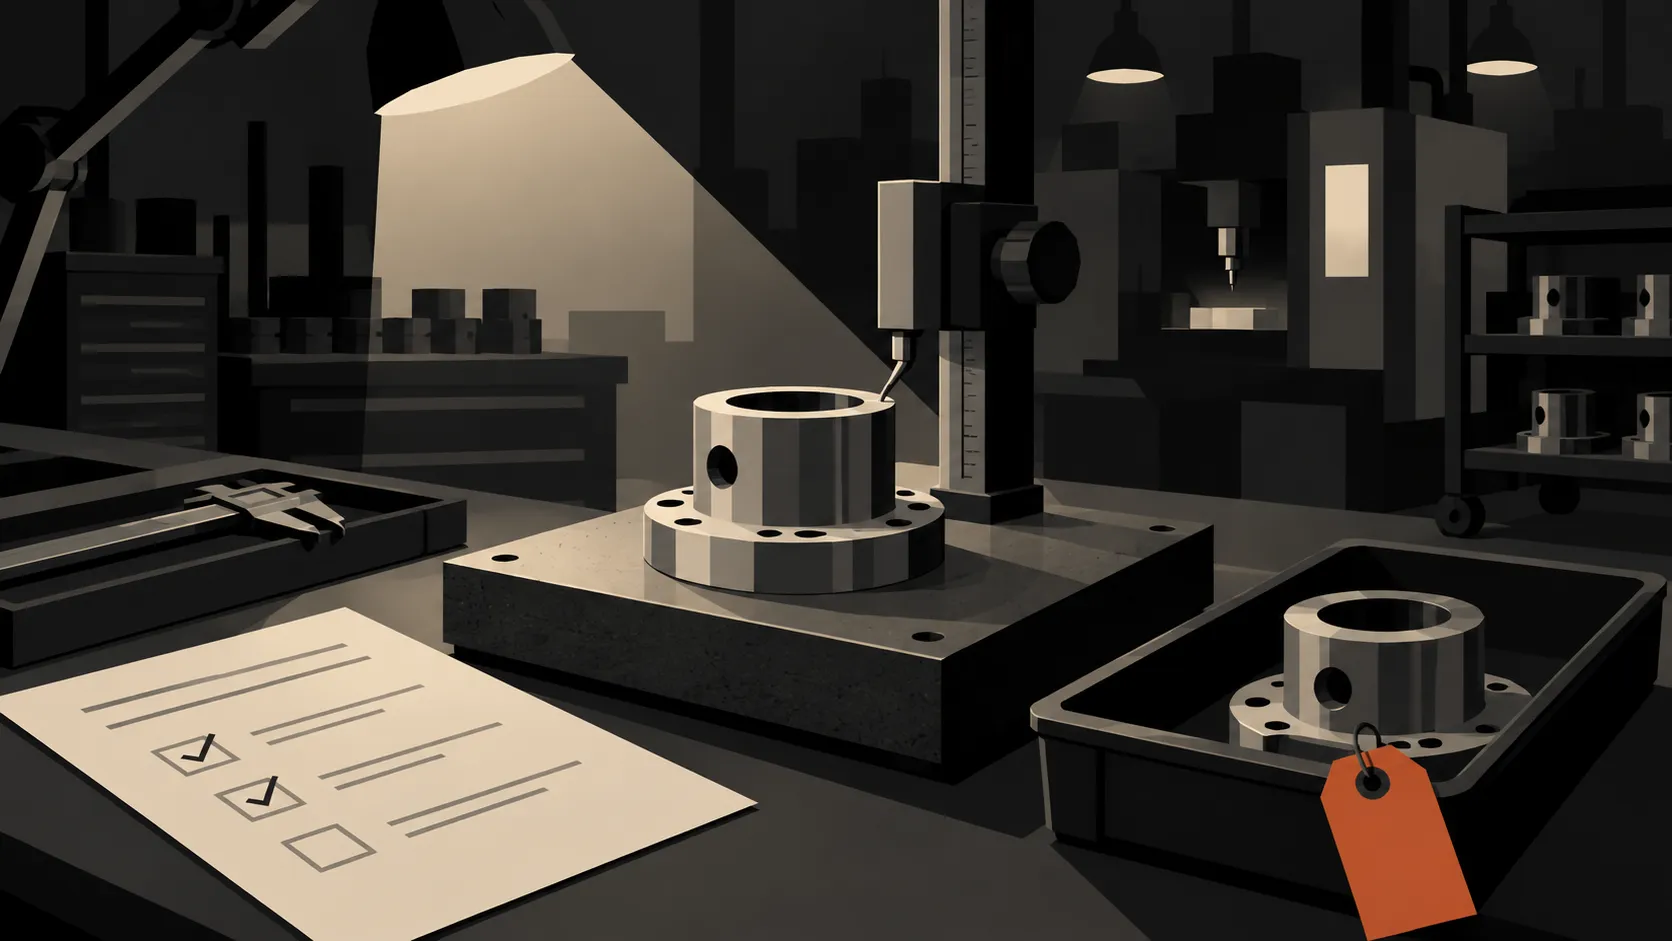
Cover illustration: a suspect part needs an identified place to wait and a record explaining why it is there.
Quality control in manufacturing depends on checks that different people perform the same way. A quality control checklist sets out what to inspect, how to inspect it, what counts as a pass and what to record. In manufacturing, it should also tell the inspector what to do when a check fails. A tick beside “dimensions checked” leaves the next person guessing unless the record identifies the part, the requirement and the result.
Start with one product at one inspection stage. Put its approved requirements beside the checks, leave room for the actual findings, and name the person who can decide whether the work moves on.
Need a starting form? Bulk’s quality control checklist template is available as a PDF through an emailed download link. Use it as a starting layout, then add the requirements for your product. The outline below also works in a spreadsheet or an editable document.
What is quality control in manufacturing?
Quality control in manufacturing is the work of checking that materials, parts and finished products meet their specified requirements, and acting on what does not. It happens at defined points in the flow, not only at the end of the line:
- Incoming inspection checks supplier material before it is used. An incoming inspection form records what arrived against the order and specification.
- First article inspection confirms that a new part, or a changed process, produces conforming output before production continues. See the first article inspection report.
- In-process checks examine work at defined operations, often on a sampling plan. A control chart shows whether a measured characteristic is drifting before parts go out of tolerance.
- Final inspection checks the requirements assigned to the finished product before release.
When a check fails, the part needs an identified place to wait and a record of the decision. A non-conformance report captures what was found and what happens next.
A checklist makes each of those checks repeatable: it says what to inspect, how, what counts as a pass and what to record. The rest of this guide shows how to build one.
What should a quality control checklist include?
Build the QC form in two parts: a header that identifies the work and a repeatable row for each check. This keeps the inspection instructions separate from the results of a particular run.
Identify the work once
Record the product or part number, job number, lot or serial numbers, inspection stage and quantity presented. Add the drawing or specification revision, checklist revision, inspection date and inspector’s name.
Be precise about the stage. An incoming inspection checks what has arrived from a supplier. An in-process check examines work at a defined operation. A final inspection checks the requirements assigned to the finished product. Give each stage its own relevant checks rather than making every inspector complete one oversized form.
Give every check a complete instruction
| Field | What to write |
|---|---|
| Characteristic | The exact feature to inspect, such as sleeve outside diameter. |
| Requirement | The acceptance limit or approved visual standard, including units and reference revision. |
| Method | The measurement or test procedure and the required instrument or equipment. |
| Coverage | Which units to inspect, how many, and when. Reference the approved sampling plan where one applies. |
| Actual result | The reading, observation or test result for each required unit. |
| Check outcome | Pass, fail, or not applicable with an explanation where permitted. Leave unperformed checks clearly incomplete. |
| Failure response | The immediate containment action, person to notify and linked issue reference. |
Keep the final release decision separate from individual pass/fail results. One dimension passing does not mean the whole product has passed. Equally, finishing the checklist does not grant the inspector authority to release a held lot.
QA checklist, QC checklist and control plan: what is the difference?
Quality assurance, or QA, concerns the activities that give confidence the process will meet quality requirements. Quality control, or QC, concerns meeting those requirements, including inspection. They overlap, but serve different purposes. ASQ explains the distinction between QA and QC.
For example, a QA checklist might ask whether the inspection instruction is approved and the inspector is trained. A QC checklist records whether a particular sleeve meets its diameter requirement. Use the document’s purpose to decide its contents, even if your plant calls both a “quality checklist”.
A quality control plan is broader. It sets out the relevant requirements, responsibilities, inspection activities and response arrangements. The checklist records the checks performed under that plan. ASQ’s guide to quality plans describes how planning documents and inspection records fit together.
Turn the specification into checks someone can perform
Take the approved drawing, customer requirements and inspection instructions to the station. For each characteristic, write down the comparison the inspector must make. Replace “check quality” with a named feature and a defined acceptance condition.
For a measurement, state the limits and units. For a visual check, reference the approved defect description, sample or photograph, including the viewing conditions where they matter. “Looks good” lets two inspectors make different decisions without either knowing why.
Choose a measurement method suitable for the feature and tolerance. Identify the instrument used and confirm that it is authorised for the task and within its required calibration or verification period. A box marked “equipment checked” should lead to an identifiable instrument and status record.
Next, specify coverage. “Check a few” is not a sampling instruction. Name the lot, selection method, sample size, timing and acceptance/rejection rule from the approved plan. Do not copy a sample size from an unrelated template.
Acceptance sampling uses a sample to make a decision about a lot. It does not establish that every unmeasured unit is good. NIST’s introduction to acceptance sampling explains that the purpose is a lot acceptance decision, rather than an estimate of the lot’s quality.
A worked manufacturing QC checklist example
Consider a hypothetical final inspection of machined sleeves. The dimensions, document references and results below are invented to show how to write the record. They are not specifications or a sampling plan to adopt.
For this example, the approved instruction requires inspection of every sleeve. We are looking at the record for one unit, S-017, from job EX-204. Its outside diameter must be between 24.95 mm and 25.05 mm, inclusive. A suitable calibrated outside micrometer is specified by the measurement procedure.
| Check | Requirement in this example | Recorded finding |
|---|---|---|
| Identity | Part SL-20, drawing revision C, job EX-204 | References match the job record. |
| Outside diameter | 24.95 mm to 25.05 mm, measured under instruction EX-M01 | S-017: 25.08 mm using instrument M-12. Fail. |
| Bore entry edge | No raised burr under visual standard EX-V02 | Raised burr visible at bore entry. Fail; photo recorded. |
| Response | Identify and hold failed unit; notify quality lead | S-017 placed in hold tray H-03. Issue EX-Q17 opened. |
| Release decision | Quality lead review required before release | Pending. Unit remains on hold. |
The dimensional result exceeds the upper limit by 0.03 mm. Preserve the reading, the instrument reference and the unit identity. A reviewer should be able to understand the failure without finding the original inspector.
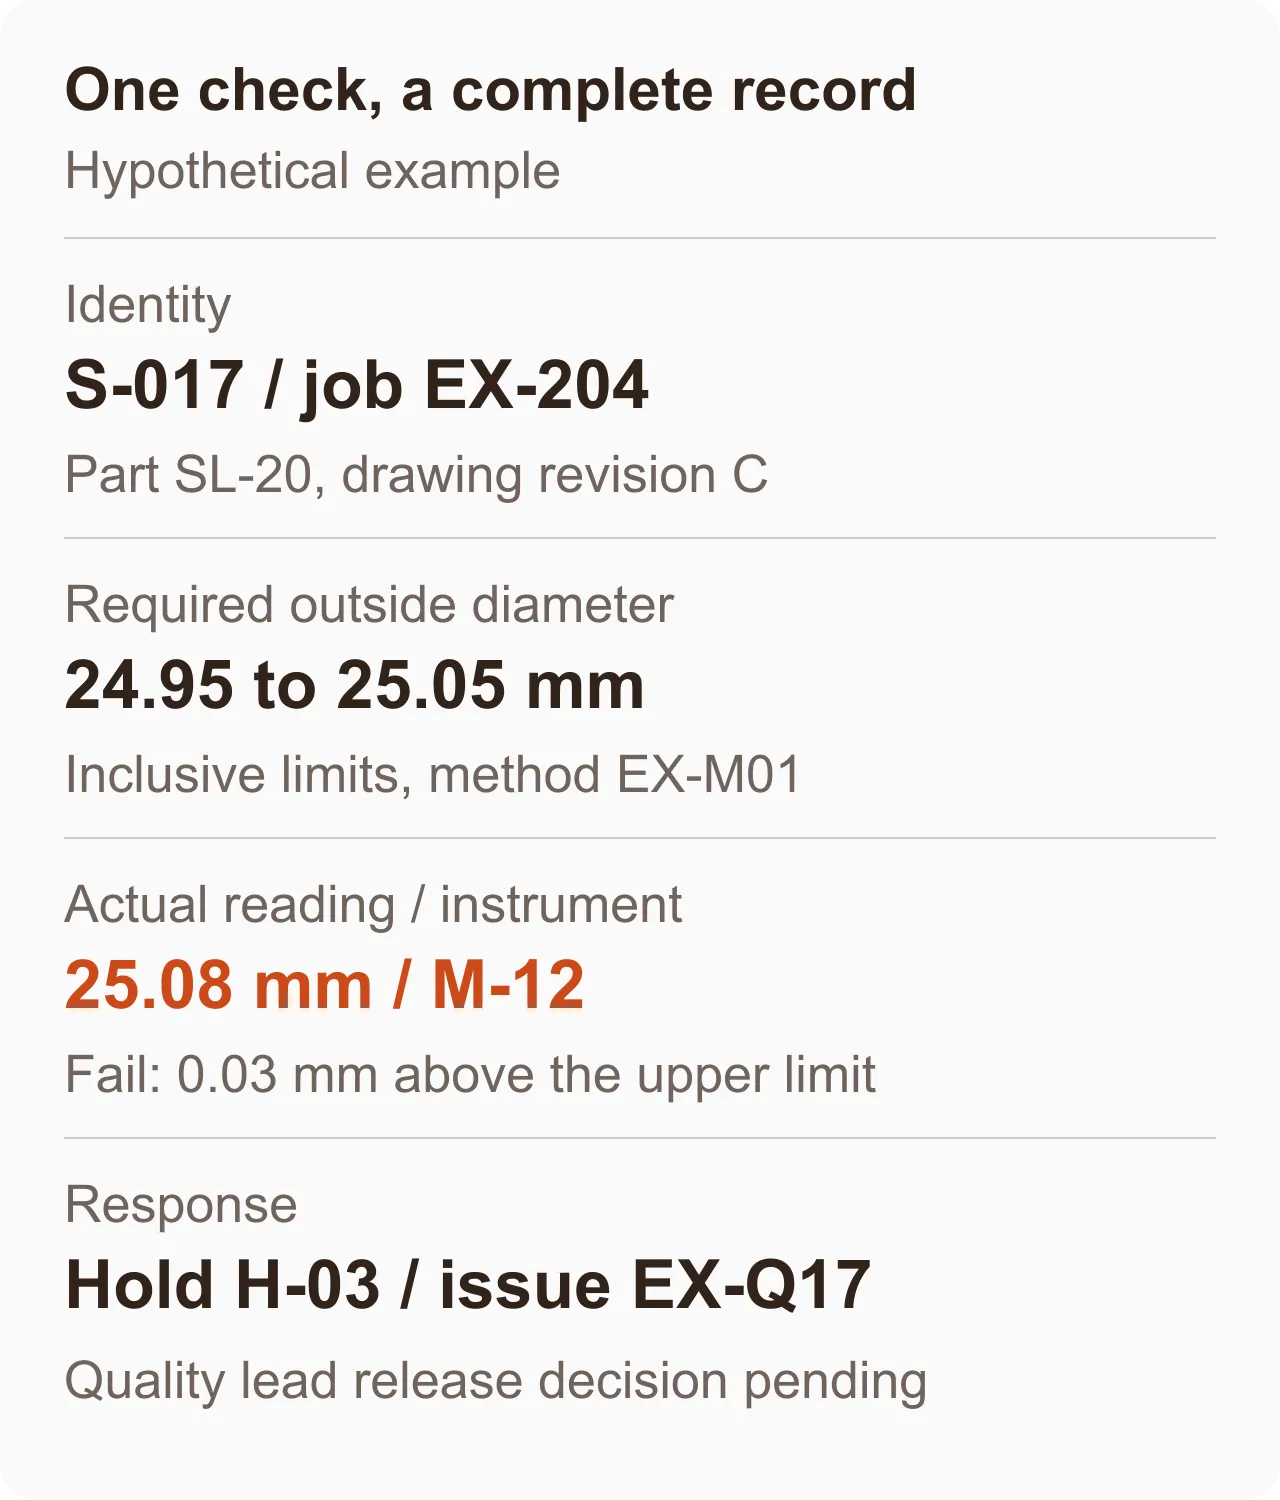
Record the other units’ results separately. The quality lead must decide whether the finding calls for containment beyond S-017, using the process history and applicable procedure. This single failure does not tell you how many other parts are affected.
Write the failure response before the first inspection
A failed check creates a handoff. The inspector needs to know where the suspect product goes, how to identify it, who must respond and what evidence that person needs.
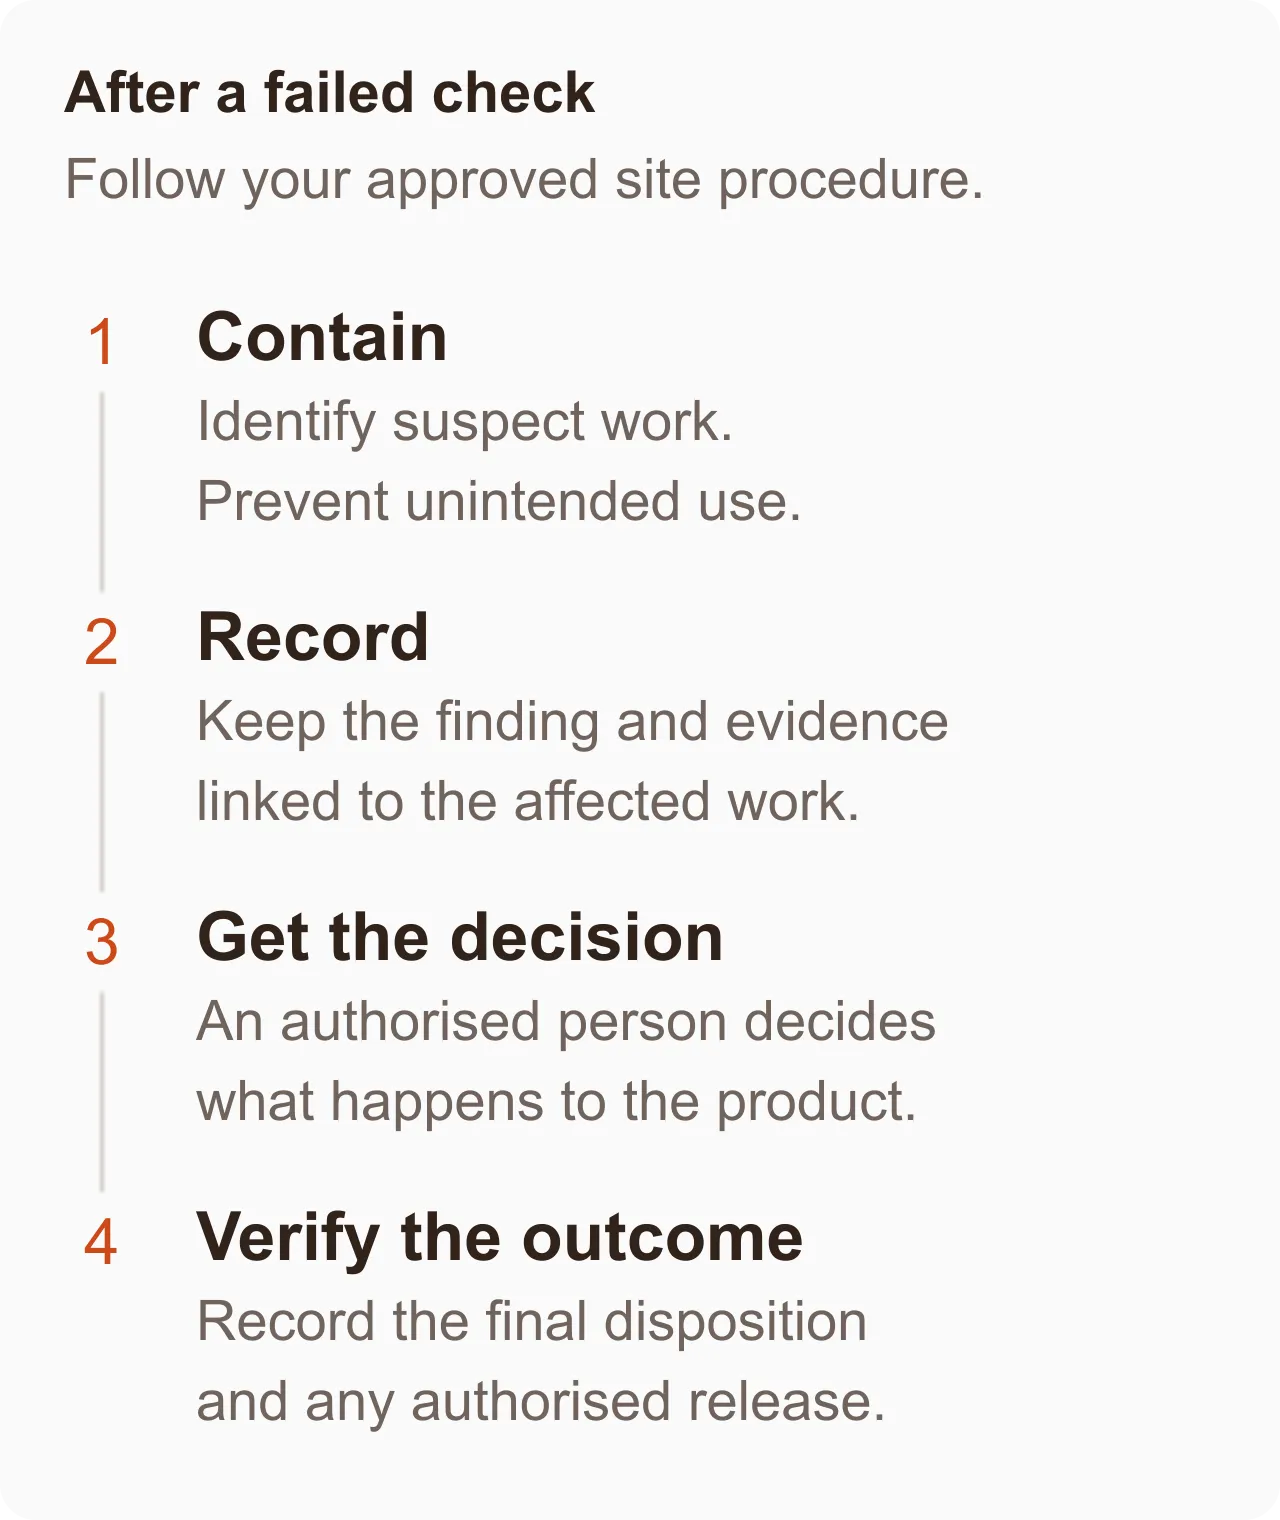
Use a short sequence that fits your plant’s approved procedure:
- Contain the suspect work. Identify the affected units and prevent unintended use or shipment. Define who assesses whether the hold must extend to other work.
- Record the finding. Keep the requirement, actual result, job or lot reference, inspector and time. Add photographs where they show something useful.
- Get the authorised decision. The responsible person decides what happens next, such as rework, scrap, return or an authorised concession. An inspector should not invent an exception to make the checklist pass.
- Verify and record the outcome. After rework, retain the original failure and add the required reinspection result. Record the final disposition. Where release is authorised, record who approved it and which units the decision covers.
If the failure repeats, review the process that produces it. Adding another inspection box may help contain the problem, but it does not explain its cause. Keep the investigation linked to the findings that triggered it.
Test the checklist at the station
Before issuing the form, ask a trained inspector to use it on a normal job and a known failure example. Watch for questions the form does not answer. Can they find the current requirement? Does the field hold the full measurement and unit? Can they tell which quantity is inspected and which quantity is held?
Have another inspector review the completed record. If they need a spoken explanation to interpret a result, improve the wording or the evidence field. Walk through the failure handoff with the person who receives it, including how they are reached on a later shift.
Then approve the checklist through your document process, assign its revision and make the current version available at the point of use. Preserve the revision used on completed records. A later drawing change should not make an old result look as though it was inspected against the new limits.
Review the form when requirements, methods or equipment change, or when a defect exposes a missing check. Also look for repeated blanks, unexplained “not applicable” entries and results copied into a second record. Those are specific problems to investigate before adding more fields.
Keep the inspection record connected to the job
Paper can work when completed forms stay with the correct work and people can retrieve them. A spreadsheet can work when the master, revisions and completed records are controlled. Moving the same vague questions onto a screen will not make them clearer.
When choosing a digital approach, test the awkward case: a failed measurement, supporting evidence, a handoff to quality and a later decision. Check that the original result remains understandable throughout.
In Bulk’s Quality app, a quality issue can carry the affected quantity, a production job link and photos. That gives the quality team context for reviewing a finding. Keep the inspection requirement and recorded result with the evidence, and define your site’s hold and release procedure before relying on the handoff.
Start with one inspection stage and one product. Take the quality control checklist template, fill in the real acceptance criteria, and test both a passing result and a failure with the people who will use it.